Click below to read other articles from our CLI intro series:
- Part 1: What and Why of the CLI
- Part 2: An Introduction to Shell Commands
- Part 3: Command Line Tools
So far in this series, you have learned why it’s important to understand how to use the command line, some command line basics and shell commands, and all about running CLI-based applications and command line tools. In this part of our CLI intro series, you are going to learn the basics of customizing your shell user experience.
In this part of the CLI intro series, we’re going to focus on:
- The CLI Shell’s Configuration Files
- Customizing the Prompt
- Making Your Own Shortcuts with CLI Aliases
- Commands that Run Every Time a New Shell Opens
Customizing Your CLI Shell
You have full control over the look and feel of your CLI shell. From changing the prompt variables to changing the color scheme to making your own shortcuts, there are a lot of ways you can configure the user experience. To start down this customization route, let’s first look at how the CLI shell configuration works in general.
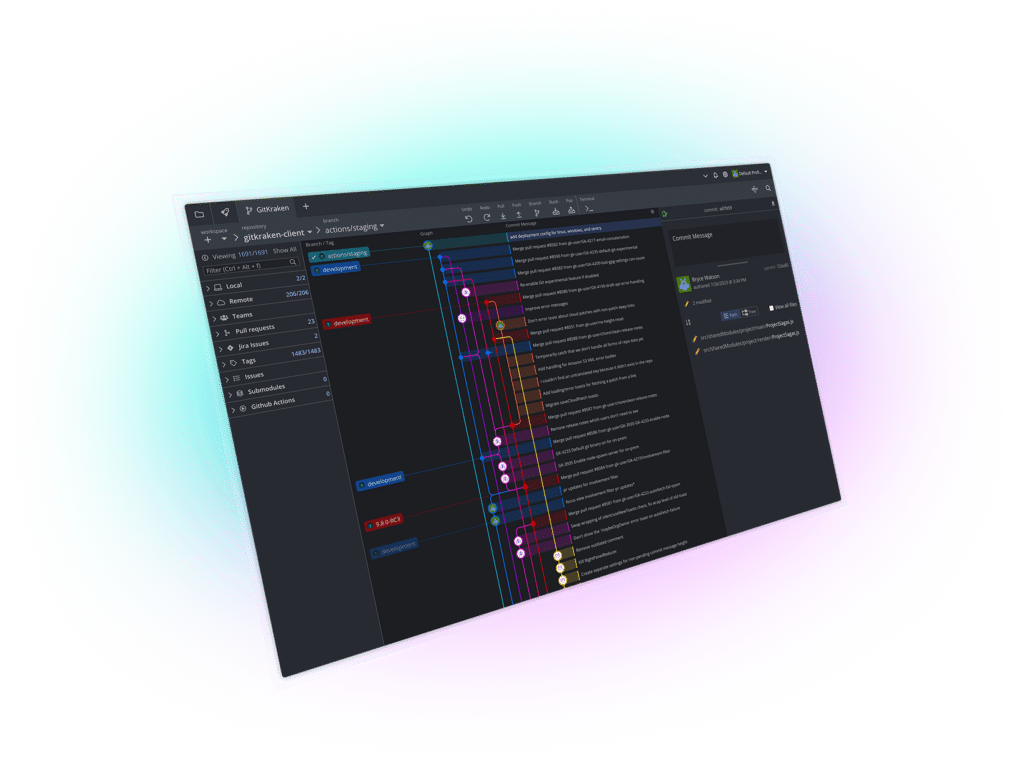
No matter how you customize your terminal experience, you will love using the GitKraken CLI in GitKraken Client! Awesome commit graph visualzsation plus the Git CLI at your fingertips.
The CLI Shell’s Configuration Files
CLI shells like Zsh and Bash are just programs running on top of your operating system. Just like any other program, you can configure them to your needs.
Zsh and Bash both load configuration from specific files in a specific order, but we’re going to focus on .zshrc for Zsh, or .bashrc in Bash. Both of these are stored in your $HOME folder, which is where you will end up if you do a cd with no other options provided.

When you open a new terminal window, the terminal emulator loads the CLI shell’s configuration. There are four kinds of shell sessions you can start in the terminal; the most common is an ‘interactive, non-login shell’, and you will likely use it daily.
Let’s take a quick closer look at the four possible states.
Interactive Shells vs Non-Interactive Shells
You have used an interactive shell every time you typed anything into a terminal. This is the default type of shell opened by the terminal if you click something on your desktop or open the built-in terminal in editors like VS Code.
Non-interactive shells are opened and used by programs, such as shell scripts, and do not accept user input from the keyboard. If you’ve ever opened a program and briefly caught a glimpse of a terminal window opening, printing something, and immediately closing, then you’ve seen a non-interactive shell at work.
Login vs Non-Login Shell
In the second part of this series on shell commands, the first command we looked at was whoami. It’s important to know who the terminal thinks you are because the terminal will behave differently based on that information.
When opening a terminal emulator—like a Terminal Tab in GitKraken Client, iTerm or Gnome Terminal—the operating system already knows who you are, so you don’t have to log in again. The terminal gives you an interactive non-login shell and loads up the configuration from your .zshrc file.
When opening an SSH connection or a native CLI shell for the first time, such as a command line only Linux session, the terminal needs you to login. This is when you would have an interactive login session and the shell would load the configuration from your .zshprofile.
In this article, we will be working with .zshrc; this is because you will almost always be working with interactive non-login shells, but it’s good to have an idea of where your shell’s configuration is loaded from, especially as you advance and work with scripting and CI/CD tooling.
Loading an interactive session in the VS Code terminal? GitLens+ makes that session interactive on a whole other level! Click to interact with any Git hash, branch or tag listed in the shell. Get started with GitLens+ today.
Customizing the Prompt
You can customize your command prompt in many ways. The default prompt configuration in almost all the examples we’ve shown so far has used the pattern: username@hostname current-directory %.
The hostname is just the name of the computer you’re logged into. To change this, you need to change the value for “prompt variable 1”, called PROMPT in Zsh or PS1 in Bash.
You can set the prompt variable to print any regular string or individual characters, like your name, a custom message, or a ‘$’. There are a large number of predefined prompt variable settings you can choose from to populate a dynamic value, including the current date and time, full path to the directory, full hostname, and many other options. While very similar, Zsh prompt variable options vary in format and specifics from the Bash prompt variable options.
For example, let’s change the prompt in Zsh to use the format date current-directory ~ $

1. Open or create your ~/.zshrc file. It might already exist, but in case it doesn’t, you can create it by using touch ~/.zshrc or through your favorite text editor. This file will be saved in your $HOME directory.
2. At the top of the .zshrc file, add the following line:export PROMPT='%D %1/ ~ $
If you are using Bash, you set this line in your ~/.bashrc file:export PS1="\d \W ~ $"
3. Save the file.
4. Open a new terminal window.
5. Celebrate!
Coloring Your Prompt
You can add a splash of color to your Zsh prompt variables to make your prompt variables a little easier to read, match your desktop background, or to just spice up your terminal experience.

By default, Zsh supports the colors black, red, green, yellow, blue, cyan, and white.
To decorate your prompt variables, complete the following steps:
1. Open your ~/.zshrc file.
2. Add the %F{color} to the front of any prompt variable and %f to the other side. Replace color with one of the supported colors.
For example, to modify your prompt to look like the above image, use:export PROMPT='%F{red}%D%f %F{green}%1/%f %F{cyan}~%f %F{yellow}$%f
3. Save the file.
4. Open a new terminal window.
Zsh Themes
You can add a lot more decoration to your prompt and create entire Zsh themes. While we aren’t going to cover creating Zsh themes in-depth here, it’s good to know what’s possible.
There are multiple open source projects devoted to CLI shell themes that make it easy to configure the prompt just the way you want. We recommend checking out the Oh My Posh theme, a prompt theme engine for any CLI shell.
No matter how you style your shell experience, if you are using VS Code, GitLens+ can unleash the power of Git, making your terminal experience much more robust.
Making Your Own Shortcuts with Aliases
Another thing you can do in your .zshrc file is set aliases. Aliases are shortcuts that you define to make common tasks easier. Aliases are very simple to set up and can save you a lot of typing in the long run.
Aliases always follow the same simple formula:alias command='other commands you want to run'
That’s it.
For example, we have used ls -a quite a bit in this series. You can shorten that to la by adding the following line to your .zshrc file:alias la='ls -a'
Remember to save and start a new terminal window for the configuration change to be active.

Another common option that we recommended is using interactive mode with remove —rm -i—whenever you remove a folder or file. To make this the default behavior of your terminal, add the following line to your .zshrc file:alias rm='rm -i'

A quick word of caution about aliasing: aliases can overwrite the behavior of an existing command, as seen in the example above. This is because the .zshrc file is one of the last things the terminal reads when opening a new instance of the CLI shell; whatever is loaded from that file takes precedence over any default behaviors.
The terminal assumes you know what you’re doing, so be careful with the command names you use for setting aliases. It’s never a bad idea to see if there’s a manual entry for any character combinations before you use it as an alias.
One final example that you might find useful is git push origin main, something most developers end up typing many, many times. If you set git push origin main as CLI alias gpom, you can avoid typing 16 characters every time you perform this action!
To use the gpom alias, add this to your .zshrc file:alias gpom='git push origin main'
There’s a lot more you can do with aliases, like create functions and suffixes. There are many great guides to learn more about CLI aliases. You will find that the more you learn about CLI aliases, the more time you will save in the long run.
Commands that Run Every Time a New Shell Opens
All of the things we’ve added to the .zshrc file so far have been commands, including exporting custom prompt variables and setting CLI aliases. The configuration files run the commands in the order they are listed, from top to bottom. However, if there are certain commands you want to run every single time you open a new shell, you can list them in the .zshrc or .bashrc file.
For example, if you wanted to show the present working directory and list the content of the directory where the new shell opens, you can add the following:pwd && ls

The && here is how you tell the CLI shell to run two commands on the same line. It is the same as running each command in order.
Customizing your terminal experience can help you be more productive. Combine that with the helpful features the GitKraken CLI brings, like autocomplete suggestions, and you will be on a path towards maximum efficiency.
Ready for Automation
Now that you have customized your CLI shell user experience and have gotten the hang of making your own shortcuts, you’re ready to move on to scripting, which we will cover in the next part of this CLI intro series. We will tie together everything you’ve learned so far and build your first simple script, and get an introduction to more advanced scripting logic. Armed with that knowledge, you will be ready to take on advanced workflows and tackle CI/CD pipelines!
 GitKraken MCP
 GitKraken Insights
 Dev Team Automations
 AI & Security Controls