This article was written by a guest author.
If you’ve been building client websites for a while, you may remember a time before WordPress. A time when building websites meant creating every HTML page by hand. At some point, you probably decided that there were common features that every customer needed on their site, so you started using one customer’s website as the template for the next. Of course these days, WordPress is the underlying software for many modern websites, and there’s no need to re-invent core functionality. Maybe you always start with the same theme on every site you build, or maybe there’s a particular stack of plugins you prefer.
If you find yourself always installing the same themes and plugins as soon as you standup a new WordPress site, it’s probably time to start using Git with WordPress, and more specifically WordPress with GitHub.
Afterall, a solid workflow with Git can be great for disaster recovery and a highly scalable way to template for quick deployment of new customer sites. In this article, you’ll learn to use Git and GitHub with WordPress, along with some WordPress-specific tips and tricks along the way.
If you’re using Git with GitHub, enhance your experience and increase productivity with the GitKraken Git client and CLI.
Creating a GitHub Repository for a WordPress Template Site
In order to copy code from your WordPress site to GitHub, you will need to create a GitHub repository. Consider creating a repository for core, plugin, and theme files only (no media), because the recommended size of a repository is 1GB or less in size. If you’re using GitHub to backup your codebase, that’s a pro move. If you’re using it as a full backup solution, there are better options that account for media files and database archiving.
WordPress .gitignore
ProTip: When creating your repository, select the .gitignore template: WordPress option. It will add some default allow listing and tracking preferences for certain plugins and mu-plugin folders. Or if you’d like, you can create your own gitignore file from this example.

When naming your Git repository, try to be as descriptive as possible.
ProTip: When using Git with WordPress from a managed WordPress company like Nexcess, it’s a good idea to exclude WordPress core and host-specific MU plugins from the repository since they’re managed on your behalf. When in doubt, check with your host to see which files are managed.
How to Sync WordPress and GitHub
In order to hook into the power of Git for WordPress, you’ll want to make sure your host supports Git and that you have access to a command-line tool, such as the GitKraken CLI.
For this tutorial, we’ll connect to the powerful Managed WordPress hosting at Nexcess and create our repository with an existing site.
Find Your SSH Credentials
Start by grabbing SSH credentials within the hosting portal for your site.
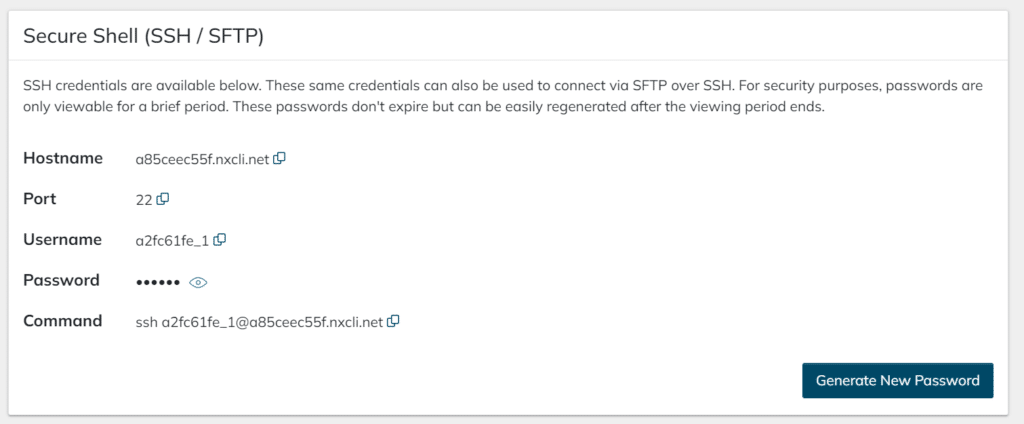
Make a note of the hostname, port, username, and password. These are all required to connect to your web server. And if you’re just getting started with Git for WordPress, learn how SSH works in Git.
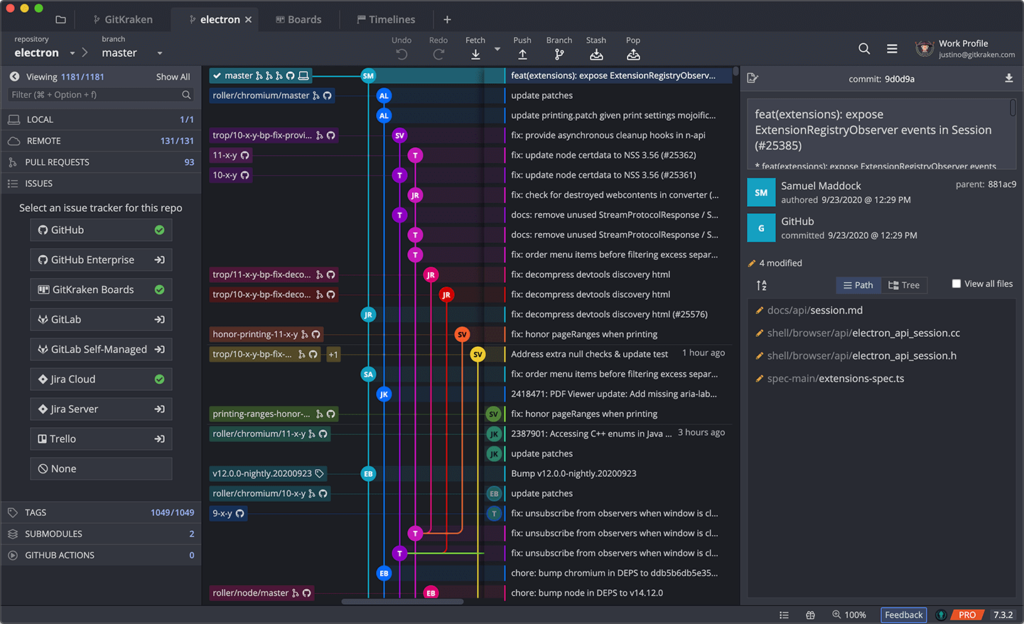
The robust GitHub integration offered by GitKraken gives you the ability to easily generate and add SSH keys to GitHub, push to and pull from GitHub repos, manage GitHub pull requests, and more.
Git for WordPress: Initialize Your Remote Codebase
After you’ve connected to your WordPress site to Git via SSH, it’s time to hunt down the files you’d like to organize into a repository.
Our files are in the public_html directory, so we’ll navigate to the directory:
cd public_html
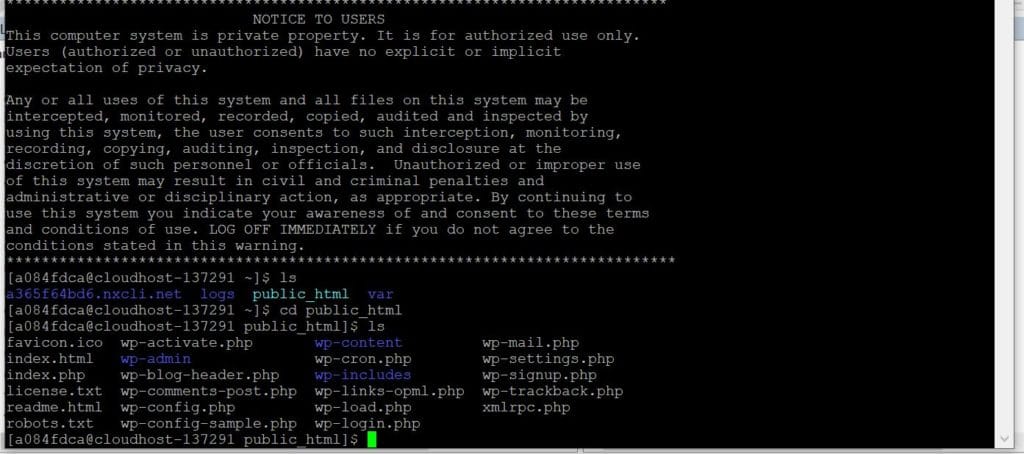
Next, we’ll want to initialize the Git repository on the WordPress server.
git init
Finally, it’s time to assign the active directory as the main branch of the repository.
git checkout -b main

Pushing Your Remote WordPress Codebase to GitHub
Next, you’ll want to add your user email and name (the one from GitHub) to the git config. To do that, you can use the following Git commands (remember to swap out your actual information). If using GitKraken, this can all be configured from your user profile.
git config --global user.email "[[email protected]]"
git config --global user.name "[Your Name]"
Now is probably also a great time to grab your GitHub token. GitKraken users can authenticate to GitHub via OAuth and will not need to manually retrieve this.
Next, you’ll need to define the location of your GitHub repository.
git remote add origin https://github.com/[USERNAME]/[REPOSITORY NAME].git
To pull down the .gitignore file from the remote repository use;
git pull --set-upstream origin main
Now that you’ve got everything set, it’s time to commit your codebase to the repository you just created on the remote server. To create your first Git commit, you will need to add your files before you can stage them. You can use the following command:
git add
Then, you can commit your changes to Git using:
git commit -m "initial commit"
And now is the moment of truth! It’s time to push the remote files to your GitHub repository.
git push origin main
And there it is! Just like that, your files are being managed by Git on your remote server and pushed to GitHub. Now, the next time you need to build a client’s WordPress website, you can pull down your codebase and get to work!
Restoring Files from GitHub to WordPress
There are almost as many types of WordPress hardware setups as there are stars in the sky. Maybe you just want to version control your content folder, or maybe you’ll keep core up-to-date and deploy to all of your sites. Your workflow for pulling or cloning from GitHub to your live site will depend a lot on your particular setup, whether or not you’re on a managed host, and other server specifics.
To get you started in the right direction, check out this thread on stack exchange.
Using GitHub to Deploy WordPress Plugins
Because many WordPress themes and plugins are managed in GitHub, you can quickly deploy changes to a site-specific plugin or theme directly from GitHub. Using the power of WP-CLI and the archive endpoint of any repository, you can force update a plugin simply by using this command:
wp plugin install https://github.com/liquidweb/woo-better-reviews/archive/develop.zip --force

And just like magic, the WordPress plugin is installed from the GitHub repository.

Git + GitHub + WordPress = Heaven
Remember, if you find yourself installing the same themes and plugins on every new WordPress site you create, it’s time to look for a workflow that saves you time (and we all know that time is money).
Final ProTip: the GitKraken Git client and GitKraken CLI make working with Git, GitHub, and your WordPress codebase even easier, safer, and more powerful. You can quickly integrate, clone, and visualize your GitHub repositories inside of GitKraken, saving you even more time building client websites in WordPress.
GitKraken makes working with WordPress and Git easier, safer, and more powerful. Whether you prefer to work in a GUI or directly in the terminal, you get the best of both worlds.

 GitKraken MCP
 GitKraken Insights
 Dev Team Automations
 AI & Security Controls